How to Address Roof Leaks: A Step-by-Step Guide for Doncaster Homeowners
Hightop Roofers Doncaster advise that roof leaks can be a major headache for homeowners in Doncaster, especially when left unaddressed. Prompt action can prevent further damage to your home and reduce repair costs. Here’s a step-by-step guide on how to identify, locate, and temporarily fix roof leaks until professional help arrives.
Step 1: Identify Signs of a Roof Leak
The first step in addressing a roof leak is recognising the signs. Common indicators include:
- Water Stains: Look for water stains on your ceilings or walls. These stains are often brownish and can grow larger over time.
- Dripping Water: During or after a rainstorm, check for water dripping from your ceiling or light fixtures.
- Dampness or Mold: Damp spots or mold growth in your attic or upper floors can signal a leak.
- Curling or Missing Shingles: From the outside, check for any curling, damaged, or missing shingles.
Step 2: Locate the Source of the Leak
Finding the exact source of a roof leak can be tricky, as water can travel along roof panels or rafters before dripping onto your ceiling. Here’s how to track it down:
- Inspect the Attic: With a flashlight, inspect the attic during daylight. Look for any signs of water stains, dampness, or mold. Follow any water stains or trails to their highest point to find the leak’s origin.
- Check Roof Penetrations: Roof leaks are commonly found around roof penetrations such as chimneys, vents, and skylights. Inspect these areas closely for cracks or gaps.
- Examine the Roof Surface, from Ground Level with Binoculars if Possible: Carefully inspect the roof surface for damaged, missing, or misaligned shingles. Pay close attention to valleys, as these areas are more prone to leaks.
Step 3: Temporary Fixes for Roof Leaks
Once you’ve identified the source, it’s time to apply a temporary fix to minimize damage until a professional can make a permanent repair.
Materials You’ll Need:
- Roofing tape or patching material
- A bucket
Temporary Fix Options:
- Apply Roofing Tape: For small leaks around vents or flashing, roofing tape can provide a quick and effective temporary fix. Clean the area around the leak and apply the tape according to the manufacturer’s instructions.
- Collect water that is entering your home in a bucket to prevent internal damage.
- Remove any furniture from the area to prevent it from becoming damaged.
Step 4: Prevent Further Damage
While your temporary fix should mitigate immediate damage, taking steps to prevent further issues is crucial:
- Remove Excess Water: If water has pooled inside your home, remove it promptly to prevent mold growth and further damage.
- Protect Your Belongings: Move furniture, electronics, and valuables away from the leak to prevent damage.
- Ventilate the Area: Use fans and dehumidifiers to dry out the affected area, reducing the risk of mold and mildew.
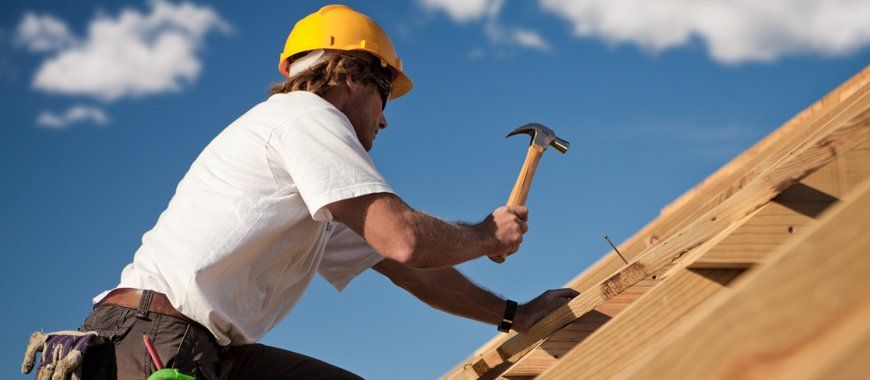
Step 5: Contact a Professional Roofer
Temporary fixes are just that—temporary. To ensure your roof is properly repaired and to prevent future leaks, contact a professional roofing contractor in Doncaster. A professional can assess the damage, provide a permanent solution, and offer advice on maintaining your roof to prevent future issues.
Conclusion
Addressing roof leaks promptly is essential to protecting your home from water damage. By following these steps, you can identify, locate, and temporarily fix leaks until professional help arrives. Don’t hesitate to reach out to a trusted Doncaster roofing company for a thorough inspection and permanent repair. Taking swift action now can save you time, money, and stress in the long run.
For expert roof repairs and maintenance in Doncaster, contact Hightop Roofers Doncaster. Our experienced team is ready to help you keep your home safe and dry.
You might also like